Tischer's EV project
2011-07-22 The 2kW compressor is rated up to 19,000 BTU/Hr.  These are some the parts I needed to buy to retrofit my A/C. On the left is the MasterFlux A/C compressor. On the top is an A/C flush kit and solvent for purging the system of the old oil. Right side is a new drier unit, Bottom is the Masterflux inverter which drives the A.C. motor in the A/C compressor. Bottom left is a diode which helps isolate the voltage spikes from the traction motor. Middle is a bottle of PVE compressor oil, it was helpful for lubricating o-rings but not needed since the compressor ships with enough oil pre-installed. |
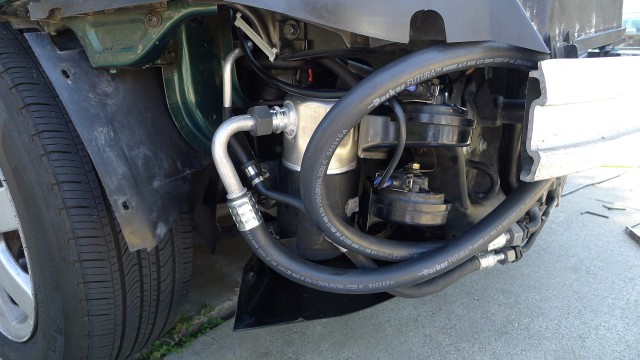
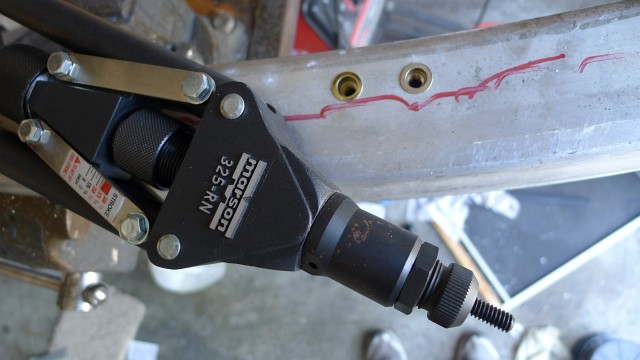
 Before (intercooler removed)  The original intercooler feed pipe is actually a structural member of the car, it joins the two frame rails. I welded an extension to this pipe and made a shelf for the compressor. |
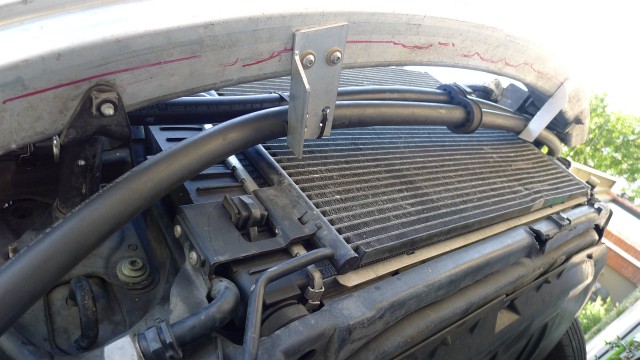
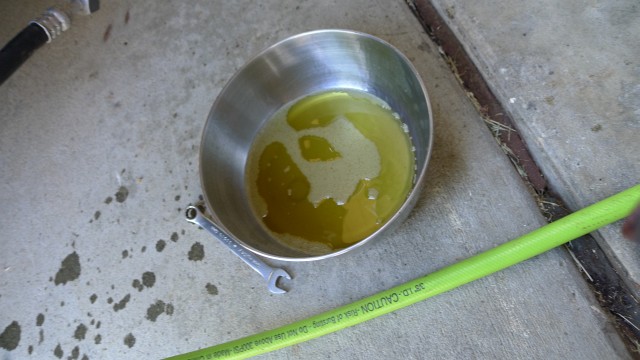 I removed the inline filter and cleaned it out. The solvent appears to be nothing more than mineral spirits, it takes an eternity to dry, but anything more volatile would probably damage the cars paint or catch fire. I blew out as much solvent as I could with compressed air. Even though I drained the water from my compressor, there always seems to be a little moisture in the line, so I hooked up my shop vac as a blower and blew warm air though the system for 2 hours.  I ended up removing the condenser so I could tilt it and drain the solvent. |
   |
  |
|
I've finally got everything working, but it was not without some issues however: First: The diagram of the inverter showing the pin-out is a mirror image of what my circuit board looks like, and a mirror image of the same circuit board pictured just above it on the very same page in the manual. Very confusing. Second: Whether the image showing the pin-out is mirrored or not, it is still backwards, pin 1 on the drawing is actually pin 8. http://www.masterflux.com/userimages/mx-demx06_rel-c.pdf Third: The electrical connector on the compressor is unlike any connector I've ever seen. I had to buy special 90 degree quick disconnect terminals which don't interfere with the rod welded to the spade on the compressor terminals. These are the connectors I used Molex 19008-0038  Terminals on the MasterFlux Air Conditioner compressor: At low speed the compressor draws 1.5 amps and at full speed, 5.0 amps (@ 330vdc). The fuse on the circuit board is rated 30 amps, (which would have required 10 AWG wire). I'm using a 10A fuse and 14 AWG wiring without issue, but I'm also running my compressor though my precharge circuit so have no inrush to deal with. The compressor is quite loud at full speed (6800 rpm), certainly louder than my power steering pump and vacuum pump. I typically run 100% speed to cool the car quickly. Once the car is cool, I can run the pump at 30-50% to keep it cool, and at these speeds the pump is relatively quiet. Mechanical installation was quite easy, they sell rubber feet to mount it, which work well. The hose connections were easy to find fittings for, and the compressor is relatively compact. The inverter that runs the compressor seems to be very well thought out. It has several fault conditions to protect itself, and it will make every attempt to automatically restart after a fault occurs. It can also stream data (motor current, dc voltage, motor rpm, heat sink temperature) to a serial port. All you need to make it run is a potentiometer (3 wires). |
My "Main Contactor closed" signal was already in my inverter, and I added in the "A/C clutch relay" signal, so all my interlocks are handled by the software in my inverter.  Oh yea, it goes to 11 baby! One colder than other A/C units that only go to 10. |
 I mounted the inverter for the A/C compressor in the trunk. The two big cables are for 330VDC input, and 3 phase motor output. The two small cables are for the motor thermal switch, and 0-5 volt speed setpoint. The aluminum enclosure I found fits perfectly, and I used a grommet plate to seal around the cables. |
(1) Bud Industries AC-408, Aluminum Enclosure 12" x 7" x 3" (1) Murrplastik KDL/E grommet plate (10) Murrplastik Grommets of assorted sizes. (1) Molex 50-57-9402, 2 position plastic header (for motor thermal) (1) Molex 50-57-9408, 8 position plastic header (for control signals) (10) Molex 16-02-0103, female pins (1) MasterFlux SIERRA06-0982Y3 Compressor ($617) (1) MasterFlux Motor Controller 025F0140-03 Flange mount version. ($669) (1) MasterFlux LP157 Mounting kit ($1.27) (1) PVE Lubricant ($4) (2) Custom hoses from TriValley Hose (about $100/ea) (5) New O-Rings($1/ea) (3) 340g bottles of R134A (with no added oil) (1) A/C Gauge set with high and low gauges. All in all I spent about $1,800. |